If you are printing pictures, make a test copy to get a little wet before you try to make a print sticker. It depends on your sticker’s design but usually a 4-color inkjet printer with a 1200 dpi print resolution will more than suffice. With whole sheets of sticker paper, it pays to start thinking about how you’re going to cut your stickers.

Contact paper can be found at any art/craft supply store or hardware store. Once dry to the touch, the sheets will probably be a little warped. Put them under a stack of books or heavy objects to flatten them out. Cook until the exterior of the potsticker is slightly browned on both sides. When served as an appetizer, you will most often enjoy them with Potsticker Sauce or Thai Peanut Dressing.
Create the Design
Selling the sticker on your Etsy shop or your own website are some options to make money. Once you’ve got an order for your stickers, you need to package them for shipping. Consider selling your stickers on Etsy or through social media for a fun side-hustle project. Laminating your stickers makes them water resistant and UV protected. For best results, wait 24 hours before peeling the stickers off the paper.
Yes, color prints cost the same as black and white. And if you’re replacing an older device and want to try HP Instant Ink for yourself, keep in mind that HP+ printers include a free trial subscription. Even if you don’t have a design in mind or the ability to create one, you can still make stickers using plain text. It’s not too much different than making custom labels. Just load the right printer paper into your printer and format your print – don’t worry, we’ll explain more about supplies and formatting below.
HP TECH TAKES /...
When you're done, just cut the sticker out to their final size and keep them flat to make sure they don't buckle. Allow the potstickers to steam for 4 minutes until they are tender and fully cooked. That being said, you CAN still store leftovers to enjoy later. For the best bite, I would suggest keeping the potstickers in the refrigerator in an airtight container for up to 2 days after you prepare them. Allow the potstickers to steam until they are tender and fully cooked. The only thing that makes a potsticker different from a dumpling is the way it is cooked.

Thankfully there's an easy way to make your own with stuff you probably have around the house, or are easily accessible. Ensure you cut the border into several sections if you have a complex design. If you made the cuts accurately, you have nothing to worry about; start picking the outside pieces first.
Sticker Bundles
Finally, cut around your design to remove the excess tape and paper. When you want to use your sticker, just peel the cover off of the double-sided tape and press the sticker down against a flat surface. Or, for simple sticker paper stickers that are easily printed off, see How to Make Paper Stickers. Print your stickers on 8 x 11 inch (20.3 x 27.9 cm) vinyl sticker paper. Load the printable vinyl paper into the printer’s tray, so the print side (non-adhesive side) is face up. Set your printer to a high-quality print mode and hit the print button in your image editing software.
If all you need is a straightforward rectangular or square sticker, a normal cutter should work. However, if you’re thinking about something with more detail, consider aCricut Machine. Remember to leave enough room in between stickers when designing your sticker template.
Making Glue Stickers
So think that when you put the sticker down, you're pretty much gluing it on. A lot of people have been asking me if it's okay to use a different kind of vinegar over the years. White Vinegar is stupid cheap and the purest, so it won't discolor your sticker stock. Want to make stickers, but don't feel like forking out lots of cash for sticker paper?

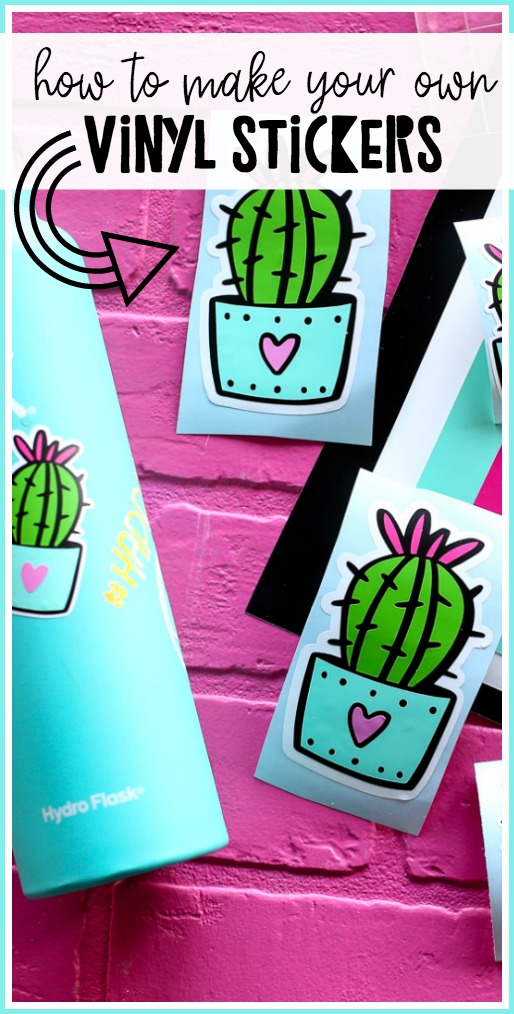
As much as vinyl, in general, is an excellent material, there are various variations of adhesive vinyl available. Ensure you go for a wrap, static cling, high tack rolled, or conformable vinyl if you want a printed type with a high-performance guarantee. But if you are cutting out the sticker, the cut vinyl is ideal as it will provide you with average to high performance. The third method is to use tape as the backing adhesive so we can create a more waterproof sticker. Today I am going to share several methods for making custom stickers at home!
If you end up putting them face down, you’re not going to be able to see them when your sticker is done so it’s vital they are facing the correct way. Proper layout is essential for how to make homemade stickers. Now you might be using just your drawing that you created or one element ONLY for your sticker and that is fine. If you are planning to incorporate any drawings you did as part of your sticker, you would cut that out as well.
It really helps to print out a bunch and make a bunch at once, cut out a few and keep 'em in a baggie. However, if your design's shape is complex then be prepared for a world of hurt when you cut out sheet after sheet. Apply the sticker to the surface and hold it there for a second. If you didn't weatherproof them with tape or plastic you can give the face of the sticker a few sprays to activate the adhesive absorbed in the paper. I couldn't tell you the exact chemical reaction, but what I believe happens is when the dry adhesive gets wet it reactivates the glue.
You want to make sure it will capture as much of the detail as possible and all of the colors that are present in your sticker design. There are a couple things you will need in order to make homemade stickers with your cricut machine. Finally take a second piece of shipping tape and place the sticky side on top of your sticker design elements.

I have found one of the best ways for me to design stickers is by cutting out interesting things I find in magazines. They are good to use on colored construction paper. You can cut slightly wide to leave a white border around the image, or you can cut it close. More advanced sticker creators sometimes leave no border and cut with an X-ACTO knife.


No comments:
Post a Comment